Sitecore 9 — XConnect — Not working, having error — HTTP Error 403.16 — Forbidden — Your client certificate is either not trusted or is invalid ?
Problem
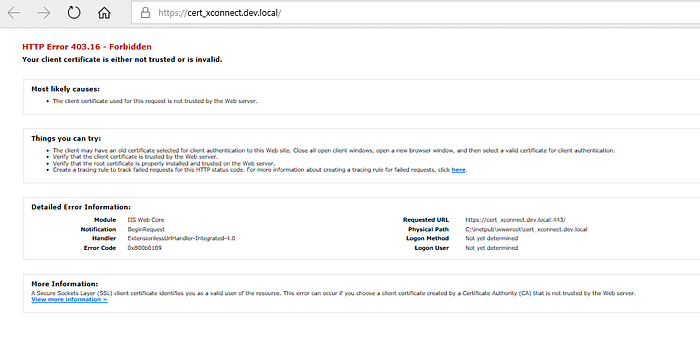
xConnect not working ? are you getting error (like below) when loading the xConnect site in you local browser ?
‘HTTP Error 403.16 — Forbidden
Your client certificate is either not trusted or is invalid.’
I use to get this error in Official laptop, but found the xConnect was working in personal laptop. I started investigating this issue further, the below are my finding and solution steps. I hope this might help someone out there.
Solution
1.The error message says in ‘Most likely cause’, ‘the client certificate used in this request is not trusted by webserver’
- The error message is saying, when browsing the URL ‘https://cert_xconnect.dev.local/’, the request is submitted with ‘some!’ client certificate, which webserver is not able to trust !
- So looking at certificates involved in this process, found three certificates are involved, a self-signed certificate or root certificate, the Client certificate & the Server certificate.
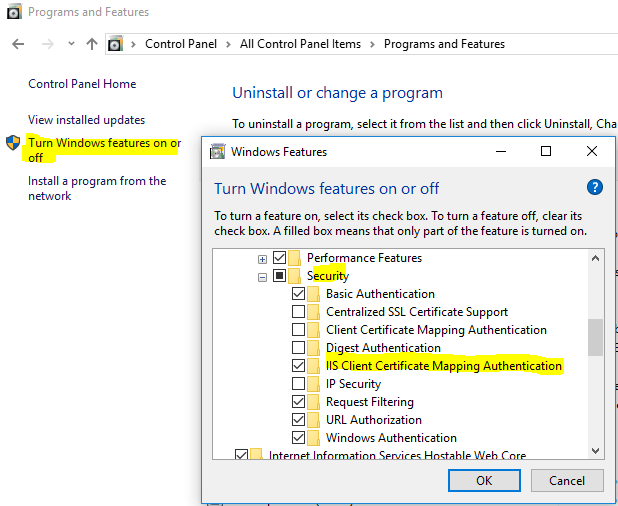
2.First check if you have enabled ‘IIS Client Certificate Mapping Authentication’ on Windows Features, you can find this in ‘Control Panel → Program and Feature → Turn Windows Feature on or Off → Internet Information Services → World Wide Web Services → Security’.
- Open Current User or Local Machine certificate store from the steps mentioned in this link.
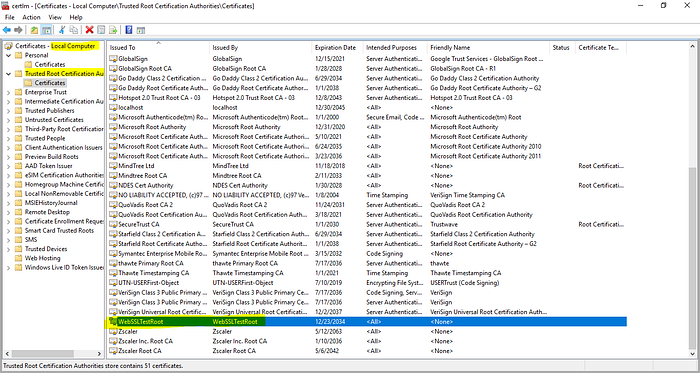
3. Where to find the Self-Signed Certificate ?
- Self-Signed Certificate present in ‘Trusted Root Certificate Authority’, in my case I created the Self-Signed Certificate myself, named ‘WebSSLTestRoot’
- If you have not created the self signed certificate, create one with ‘makecert’ as mentioned the below.
- Check if the ‘makecert’ is working in command prompt (Administrator Mode).
- If ‘makecert’ is not working, Install the Windows SDK for Windows 10. If you still can’t find it working, try downloading the Windows Driver kit. Or you can find more details from this blog
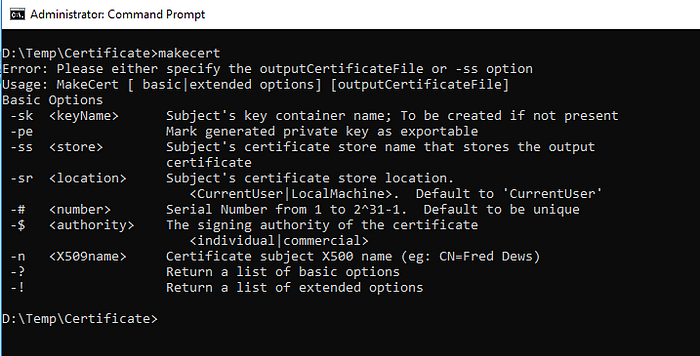
- Execute the below command (Administrator mode) on Command Prompt.
makecert -r -pe -n "CN=WebSSLTestRoot" -b 12/22/2013 -e 12/23/2040 -ss root -sr localmachine -len 2048
4. Where to find the Client Certificate ?
- You can find in the ‘Certificates — Current User’, also these client certificates are created using self-signed certificate.

- If you don’t find any client certificate use the below command to create one.
makecert -pe -n "CN=XConnect" -eku 1.3.6.1.5.5.7.3.2 -is root -ir localmachine -in WebSSLTestRoot -ss my -sr currentuser -len 20485. Where to find the Server Certificate ?
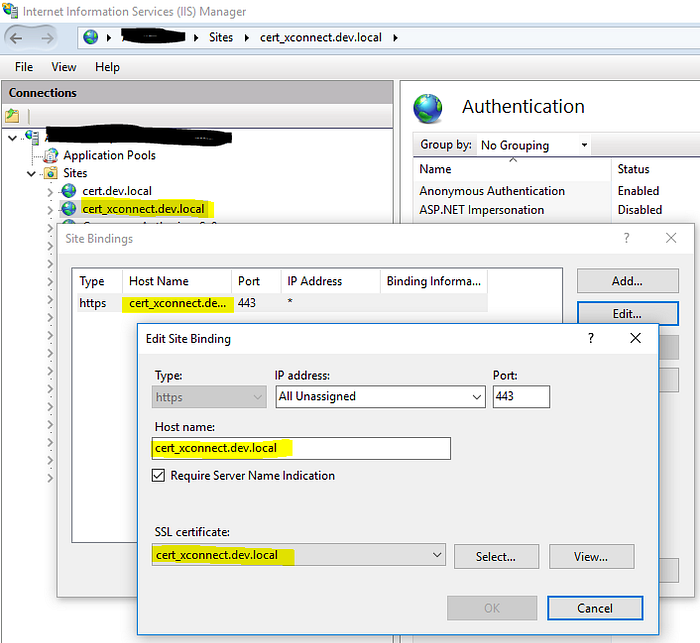
- In Sitecore 9, when you create the instance using Sitecore Installation Framework (SIF), it automatically create a server certificate and associate with your website. For example, ‘cert_xConnect.dev.local’ is associated with SSL Certificate.
6. Now you have all the certificates required.
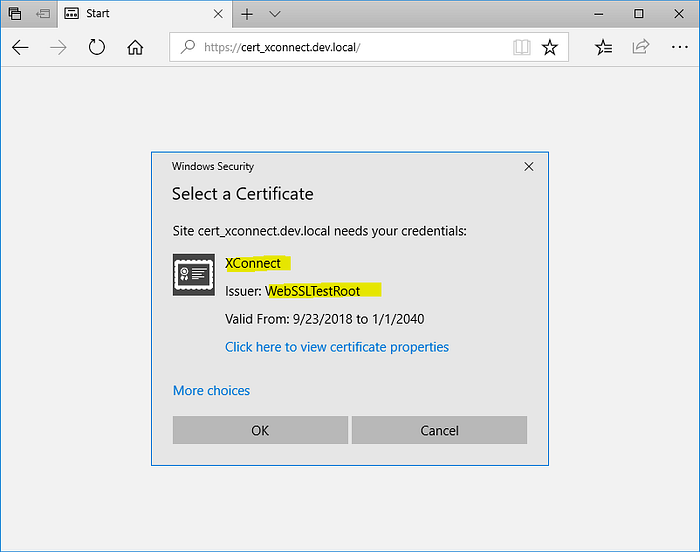
- When you try to browse the site first time (e.g. https://cert_xconnect.dev.local), you will get a ‘Select a Certificate’ alert, in this the issuer was ‘WebSSLTestRoot’.
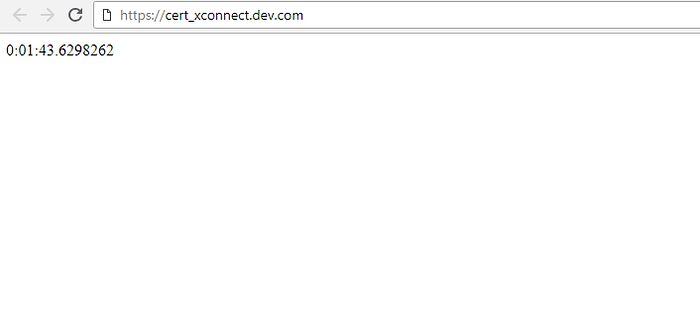
- Once you accept the certificate, you will see the xConnect is working and output will be as below.
- A nice read about xConnect Security
Are you finding still xConnect is not working ?
Now it’s time check move the un-trusted certificate from the Local Machine Root to location machine Certificate Authority.
Execute the below code snippet in Powershell (Administrator mode) and check whether working, it should work.
Get-Childitem cert:\LocalMachine\root -Recurse | Where-Object {$_.Issuer -ne $_.Subject} | Move-Item -Destination Cert:\LocalMachine\CA
- Happy Coding! Check if this helps you, add your comments.